Tutorial · Step 3 of 6
Editor Overview
The Parapheonix editor is a full non-linear editing (NLE) environment that runs entirely in your browser. Here's a breakdown of every panel and what it does.
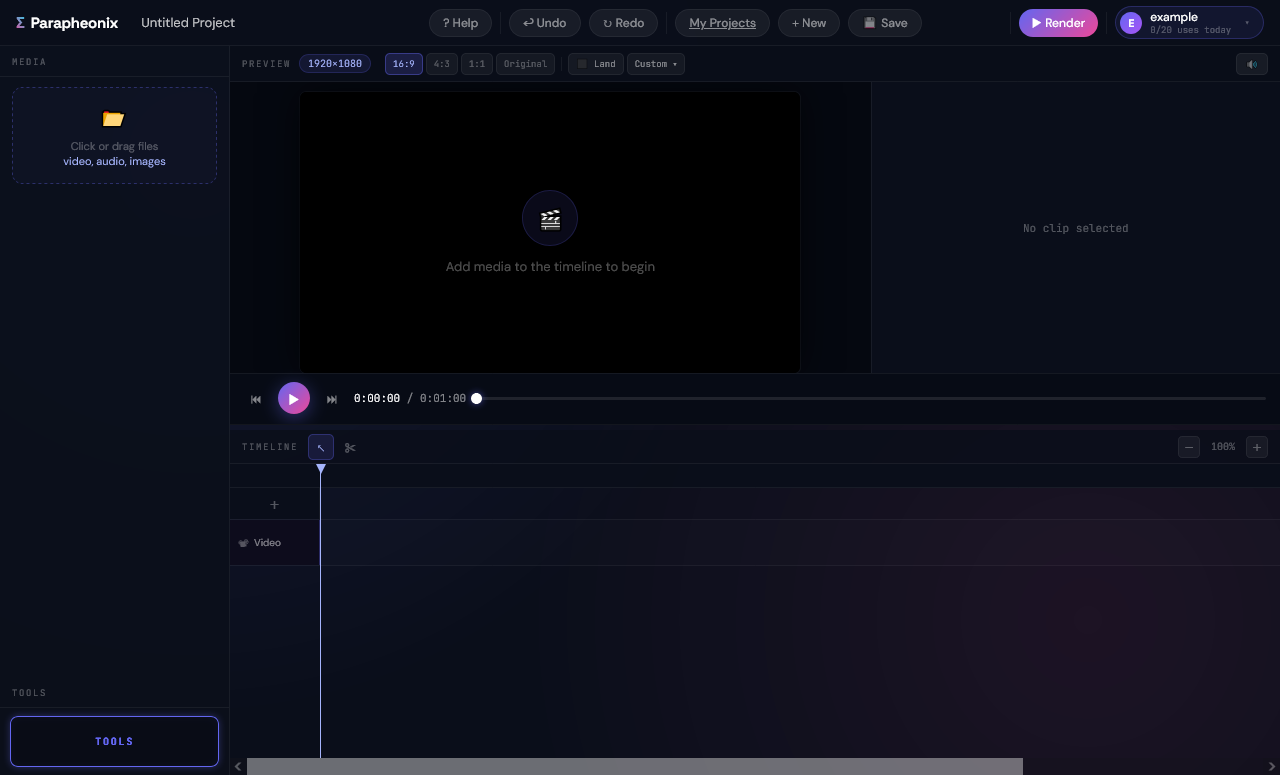
The complete editor interface — topbar, media panel, preview canvas, timeline, and tools
The Topbar
The topbar runs across the top of the editor and contains all global controls.

The editor topbar — project name, undo/redo, save, render, and user account
①
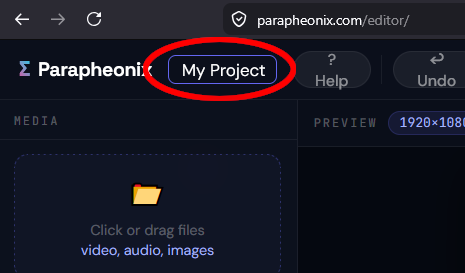
Project name
Click the project name field to rename your project. Changes are picked up on the next save.
②
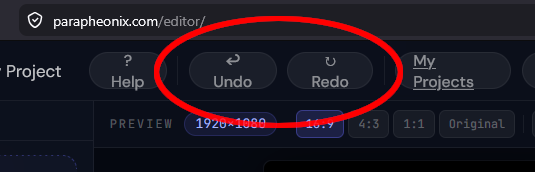
Undo / Redo
Step backwards or forwards through your edit history. Keyboard shortcuts: Ctrl Z and Ctrl Y.
③
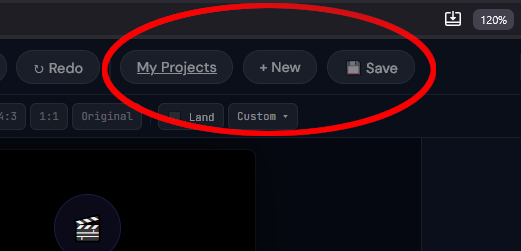
My Projects / New / Save
My Projects opens your gallery. + New starts a blank project. 💾 Save saves immediately to your account and browser storage.
④
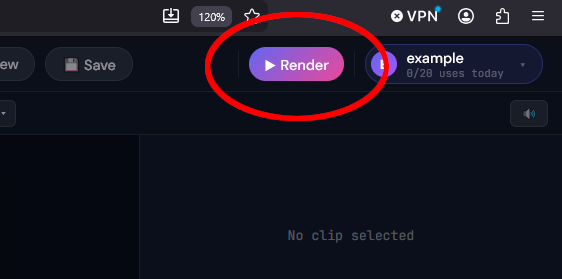
▶ Render
Exports your timeline to a finished video file via server-side FFmpeg. Opens the render panel where you choose format and quality.
Media Panel (left)
The left panel is your media library. Imported files appear here as thumbnails. Drag any item from the library onto a timeline track to add it to your edit. The Tools button at the bottom of the panel opens the standalone tools picker.
Preview Canvas (centre)
The preview area shows your edit in real time. Use the aspect ratio buttons (16:9 4:3 1:1) to change the output dimensions, and the Land / Port toggle to switch between landscape and portrait. Drag the horizontal resize handle between the preview and timeline to adjust the split.
Playback Controls
Below the preview you'll find standard transport controls — skip to start, play/pause, skip to end — plus a scrub bar and a time display showing current position and total duration.
Timeline (bottom)
The timeline is where your edit takes shape. Clips sit on horizontal tracks; drag them left and right to reposition, drag their edges to trim, and right-click for additional options like splitting and deleting. Use the zoom controls (− / +) to zoom in for frame-accurate edits.
⌨️
Keyboard shortcuts. Space plays/pauses. V switches to the Select tool. C switches to the Razor (cut) tool. Ctrl Z / Ctrl Y for undo/redo.
Track types
The timeline supports multiple track types, each designed for a specific kind of media. Tracks are stacked — higher tracks render on top of lower ones in the final output.
🎬
Video track
The base layer. MP4, MOV, MKV, and AVI files go here. Only one primary video track is supported; overlay tracks handle secondary video layers.
🎵
Audio track
For standalone audio files (MP3, WAV, FLAC, etc.) or when you want to add a music bed alongside your video's native audio. Volume and fade controls are available per-clip.
🖼
Video overlay track
For picture-in-picture video, B-roll overlays, or PNG images with transparency. Overlay clips sit above the main video and blend into the composition. Opacity is adjustable per clip.
T
Text overlay track
For titles, captions, and animated text. Text clips are generated server-side and can be animated with fade, slide, typewriter, and wave effects. Font, size, colour, and position are fully customisable.
Keyboard shortcuts reference
⌨
Playback and navigation
Space play / pause · Home jump to start · End jump to end · ← → step one frame
⌨
Editing tools
V select tool · C razor (cut) tool · Delete remove selected clip
⌨
History and zoom
Ctrl Z undo · Ctrl Y redo · Ctrl + zoom in · Ctrl − zoom out
⌨
Project
Ctrl S save project · Ctrl Z undo any change including clip moves and trims
🌐
Browser compatibility. The editor works best in the latest version of Chrome, Edge, or Firefox. Safari is supported but some features (particularly WebM preview) may behave differently. We do not support Internet Explorer or legacy browsers.